 Become a TechRadar Insider


Sometimes you may want to use your Mac as a Wi-Fi scanner so that you can detect which routers in your vicinity might interfere with your own router. If there are many routers on the same channels as yours, then you may start noticing network slowdowns.
You may think you need to head to the Mac App Store to get an app that will handle this task, but in fact this feature is built right into OS X. It's a bit hidden, but we'll unearth this feature and show you how it works.

To begin, you'll need to have the Wi-Fi icon shown in the menu bar of OS X. If it's not there, then navigate to System Preferences > Network > Wi-Fi, and check the option for "Show Wi-Fi status in menu bar."
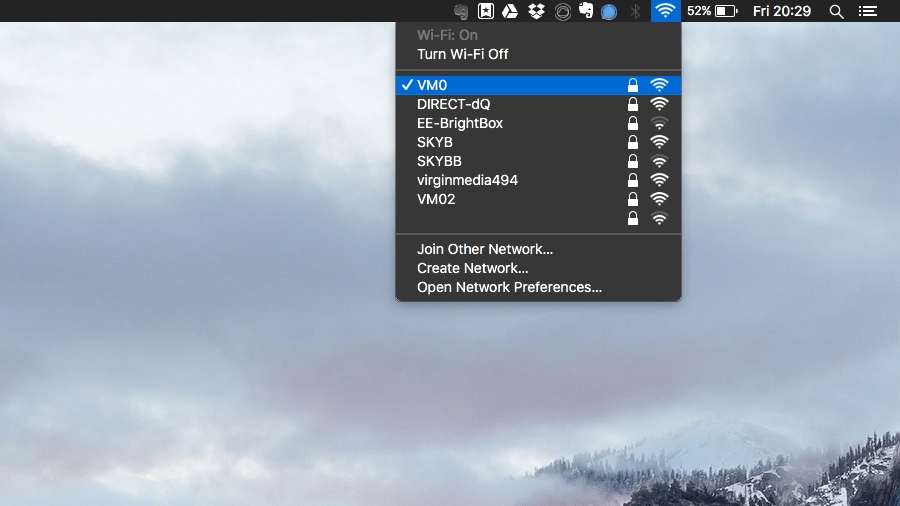
To see the Wi-Fi scanner, hold down the Option key and click on the Wi-Fi status icon in the menu bar then select "Open Wireless Diagnostics..."

Ready, set, scan!
When the Wireless Diagnostics app appears on the screen, select Window > Scan, or press Command + 4. This will open the Wi-Fi scanner where you can see a listing of Wi-Fi networks nearby including listing their network name, security type, protocol, signal strength, noise levels, channel, band, and width. The currently connected Wi-Fi network will be shown in bold.
On the left-hand sidebar, you'll see a summary of the networks available, including how many 2.4GHz networks are available, how many 5GHz networks are available, and how many there are total; however, you'll probably be more interested in the "Best 2.4Ghz" and "Best 5Ghz" items.
The scanner analyzes the networks in the area and can automatically figure out what the best channels are for 2.4 and 5GHz networks. This is where those recommended channels are listed.
Armed with the knowledge contained in the Wi-Fi scanner utility in OS X Yosemite, you can better configure the channel setting on your router to provide the best network speed and least collisions.