Easily find stuff on your Mac with LaunchBar
Better than Spotlight - search files, history and more
1. Work with categories
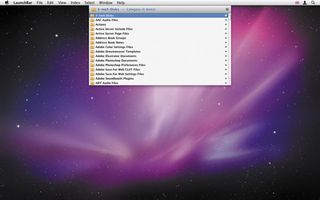
Although Spotlight enables you to search by types of data, this must be done in a Finder window, and it takes more than a few clicks to define a search for permanent use (via a smart folder). LaunchBar offers dozens of categories, a full list of which can be viewed by going to Index > Search Index and selecting Categories from the sidebar.

To see categories in action, invoke LaunchBar and type PN. The first result should be Phone Numbers. Press Return and the phone numbers in Address Book will be listed.
Another abbreviation enables you to filter the list. This technique works for many kinds of data – PL should bring up your iTunes playlists as a choice, ALB provides quick access to iPhoto albums, and types of images can be searched via JP (for JPEG), TI (for TIFF) and PSD (for Photoshop documents – although this one in our case required 'training' LaunchBar, since it appeared some way down the list).
02. Use actions
LaunchBar provides actions other than launching via Return or revealing an item in Finder using Command+Return.
On selecting (but not activating) an item, hit Tab. This starts an action, and subsequent abbreviations and selections determine what happens to the item.
Get daily insight, inspiration and deals in your inbox
Get the hottest deals available in your inbox plus news, reviews, opinion, analysis and more from the TechRadar team.

For example, open a web page in a different browser to your default: type a period (.) to access Open Location, type your URL, hit Tab and choose your browser via an abbreviation (such as FF for Firefox). Return opens the URL.
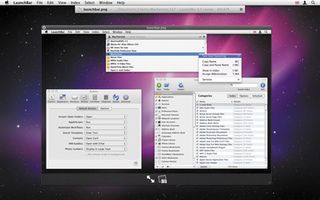
You can also load a selection from Finder into LaunchBar to move or copy it. Do this by dragging the selection to LaunchBar or by selecting it in Finder, activating LaunchBar and using the shortcut Command+G. Tab then enables you to start defining an action – type a few characters and select a folder (such as PIC for Pictures). Hit Return and a menu will show options for file manipulation – 1 for Move, 2 for Copy. Press the relevant key to choose an action.
Alternatively, speed up the process by using Command+Return to move your item to the destination or Option+Return to copy it there. It's also possible to rename an item within LaunchBar by using Command+Shift+R to enter the Rename dialog.
By default, only the filename is selected to avoid accidentally removing the extension, although Tab enables you to adjust that as well.
03. Explore app data and settings
In many cases, apps within a LaunchBar results list can be explored further (to see all running apps, use Command+R). If this is the case, you'll see a right-facing arrow next to the item's name.
The right cursor arrow enables you to access data and settings. For example, type SAF to bring up Safari as the first choice, and then press the right arrow. You'll see bookmarks and history options, enabling you to access and filter those things within LaunchBar. Typing IT should bring up iTunes, and navigating within shows as the first option what's currently playing.

Beneath are various categories – playlists, artists, albums – which can be navigated using the cursor keys. Return selects a track and loads it in the background. If you rate iTunes tracks, you should also check out LaunchBar's automated best-of lists – BO brings up the item.
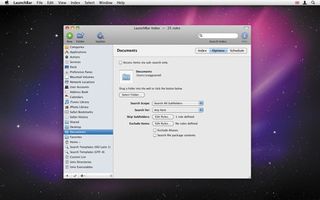
These can be filtered by album or artist, and by default include songs rated 4 or higher. This setting can be edited in the iTunes Library section of the Index, in the Options tab.
04. Use multiple clipboards
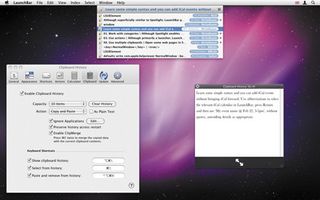
Open some web pages in Safari. Select and copy a few different chunks of text. Also Ctrl-click a couple of images and select Copy Image from the contextual menu. Press Option+Command+\ and LaunchBar will display your clipboard history.
Each clipping item has a name and some additional information – typically the app the clipping was copied from, along with a word or line count for text. Browse the list using the cursor keys, hit [Spacebar] to preview an item, and Return to paste it into an active document.

To speed things up, use Command+\ as a shortcut; hold Command and use the arrows to navigate the list. Release Command to paste an item.
You can amend these shortcuts and other options in the Clipboard section of LaunchBar's preferences. Capacity can be upped to 40 items, and you can set up an ignore list, which stops LaunchBar copying from listed apps.
There's also a ClipMerge option: by default, press Command+C twice and copied data is merged with the current clipboard – tricky to master, but a powerful feature once you have.
- 1
- 2
Current page: Get started with the best LaunchBar features
Prev Page Getting started with LaunchBar