17. Hook up and shut up
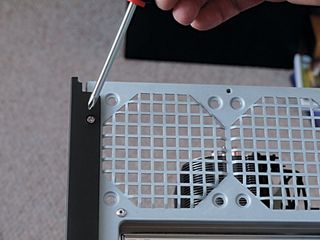
You can hook the fan power cable up to the chassis fan header on the mobo or the throttled controls behind the hotswap bay – it's your choice. Now push the side of the case back on.
18. Buckle it down, buddy
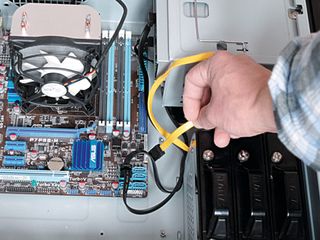
After you've put the caddy back in, you can slide the hotswap drive back through the front and begin cabling all three drives up. Just take a SATA cable for each and attach it to the ports on the motherboard. The hotswap drive port is on the back of the caddy.
19. Fit for PCI positioning
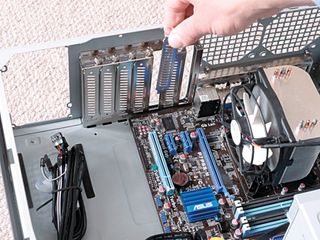
To fit the GPU card and the TV tuner, you'll need to remove two of the silver expansion covers from the back of the case. Take out the cover that lines up to the top 16 lane PCI-e port, and one that lines up with a smaller slot lower down.
20. TV and video in
Get daily insight, inspiration and deals in your inbox
Get the hottest deals available in your inbox plus news, reviews, opinion, analysis and more from the TechRadar team.
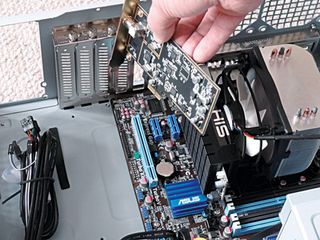
Push the two cards firmly into the expansion ports on the motherboard and secure them with screws at the rear of the case. Don't worry about the half-height adaptors that are included with both. You won't need them for this build.
21. Supplying the power
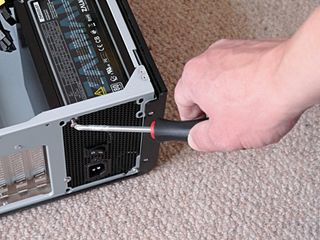
The final component is the power supply. This fits into the space beneath the motherboard so that the three-pin connector is facing out the back. Align it so that the holes in the rear match the pattern around the slot, and bolt it into position from the outside of the case.
22. Pinning the power supply
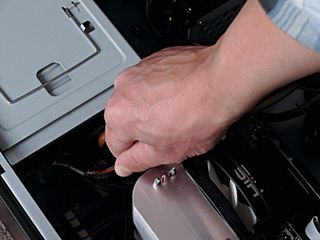
You'll need to connect the motherboard's 2-pin ATX power supply as a second four-pin adaptor near the CPU socket. Now string a SATA cable to the optical and SSD drives – the hot swap drive and fans will need four-pin Molex connectors attached to the rear of the bay.
23. Front panel fun
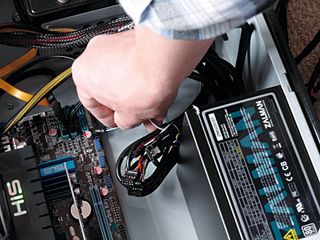
Finally, all that's left to do is attach the front panel connectors. This can be a bit fiddly, but if you follow the guide in the motherboard manual you should be able to hook up the power switch, indicator lights, audio and USB connectors without too many problems.
24. The turn of the screw
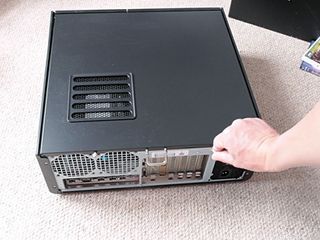
With all the cabling done and tucked away neatly, it's now time to close up the chassis by sliding on the lid and doing up the thumbscrews at the rear. Now you need to hook up your peripherals, power leads and your monitor. You may need an old cabled keyboard for the next part of the build.
25. Installing Windows
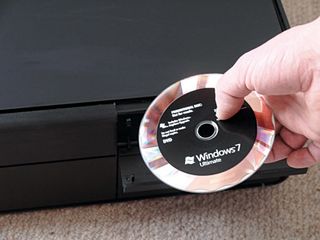
Installing Windows is simple. On the first bootup press [DEL] to get into the BIOS and navigate to Boot > Boot order. Now set the Blu-ray drive as your first boot device, put your Windows 7 DVD in and just follow the onscreen instructions. Make sure that you install the Windows operating system to the smaller SSD drive if you're using it.
26. Install the drivers
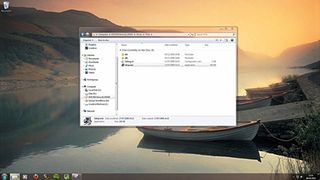
Install the drivers for your keyboard, mobo and and graphics card. Don't use the Quick Setup program for the TV card – we'll be using Media Centre, so launch 'E:\Driver\Setup.exe'.
27. Set up the software
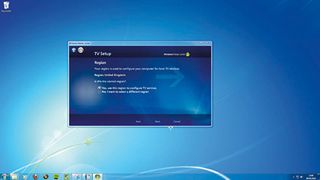
Now you can start up Windows Media Centre. On the first run through, it'll want to set up your hardware. This is a pretty straightforward process, and you will need to give it control over both tuners in your TV card. It can take a bit of time, though – don't panic if nothing seems to be happening.
28. TV shenanigans and aerial antics
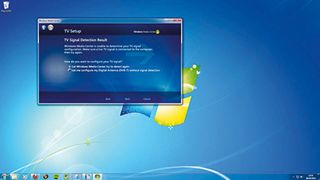
Nine times out of ten, the first automated set-up you try won't work properly. If you click through the manual options for TV setup, there's a better chance you'll find channels, otherwise you may want to invest in a signal booster (Maplin sells them for £15).
29. Get the right drive
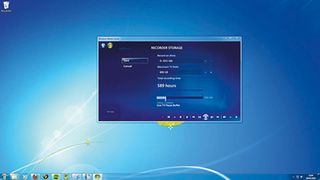
Before you go any further, scroll down the main Media Centre menu to Task and choose 'Settings'. Then click TV > Recorder > Recorder storage and change the drive for files to your larger data drive.
30. For your viewing pleasure
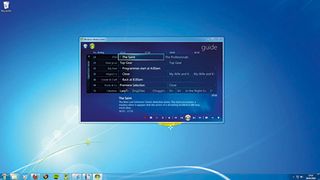
If everything has gone according to plan, you should now have a live electronic program guide in Media Centre's TV screen, from which you can click to a current channel, schedule recording and find out information about programs.
31. Pause and record
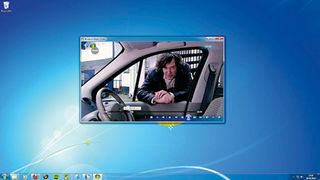
From the Media Centre screen you can go to full screen view, pause (but we advise not pausing on James May's mug that'd be horrible) and record live TV and change channel with the cursor keys. Anything you decide to record will be saved in a folder called 'Recorded TV', which is automatically linked to your library folders in Windows Explorer.
32. Sharing your favourite shows
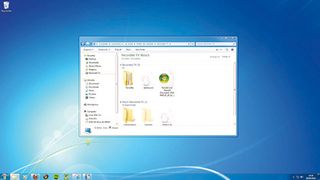
Because everything is logged straight into you Windows Media Player libraries, you can stream shows to other devices around the house. In order to burn them to DVD, though, you'll need to convert them to DVR-MS files (Right-click the show file) first.
33. Feed me more content
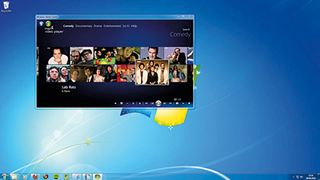
You can access a fairly limited supply of online channels and TV shows from Microsoft's online video player, but for a larger number of streams you're better off installing a third party program, such as Boxee, for example.
Current page: Build a media PC: how to put it together part 2
Prev Page Build a media PC: how to put it together part 1