Why you can trust TechRadar
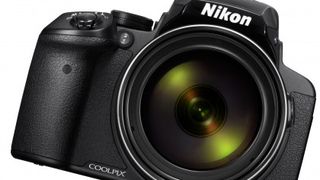
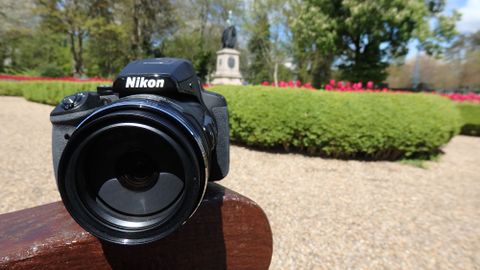
To look at the P900 you'd be forgiven for thinking it was a DSLR rather than a compact camera, as it's as big as some DSLRs with a kit lens attached.
The grip is textured to help you get good purchase, but while there's an indent for your finger, the grip would perhaps be better if it was a little larger to balance out the size of the lens. As it is, the camera can feel a little unbalanced.

Although all the buttons are on the right hand side of the body, it's not really a camera you can use one-handed for any length of time without feeling the strain on your wrist, so you'll need your other hand to support the lens. Having all the buttons grouped together does make it easier to change settings using just your thumb though.
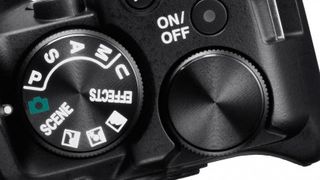
Next to the mode dial on top of the camera is a second dial, which has different functions depending on which shooting mode is selected. In shutter priority mode it adjusts the shutter speed, but in aperture priority mode it has no function - you change the aperture using the scrolling dial on the back of the camera. It's a slightly odd way of working, and while it's something you get used to we'd like to have seen a dial on the front of the grip, similar to those on many DSLRs, for a more natural way of working.

On the back of the camera is the usual four-way navigation pad, with each directional key accessing specific features – the right key, for example, controls exposure compensation.
To change the autofocus point, you first need to set the AF area mode to single point via the main menu. Once you've done this, you press the OK button in the centre of the navigation pad and then either use the directional keys or the scrolling dial to move the AF point around the screen to where you want it.
Also on top of the camera is a small function button, which you can use for quick access a range of options. By default the button is set up for ISO adjustment, but if you scroll to the bottom of the menu you can select another parameter, such as metering pattern or white balance. This can be a slightly long-winded process if you're changing settings often, but it's a little quicker than delving into the main menu to make changes.

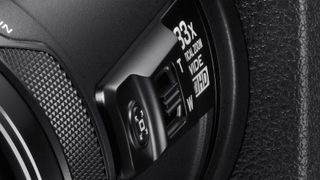
Focal length can be adjusted via the zoom lever around the shutter release button, or by using the lever on the side of the lens itself. Using the switch on the lens enables you to keep a proper grip the camera with your right hand as you use your left thumb to extend the zoom. Also on the side of the lens is a button which, if you hold it down, causes the lens to zoom out a little to allow you to locate a subject which may have moved out of the shot; when you've found the subject, you can release the button and the lens will zoom back in to the length it was at before.
The P900's screen is fully articulating, which is useful for shooting from awkward angles, and you can fold it away to protect the screen when not in use. The viewfinder, which sits just above the screen, has a sensor which switches the screen off and the viewfinder on when you lift the camera to your eye. It's much easier than having to manually switch the viewfinder on and off, and makes it more likely that you'll actually use the viewfinder.
The viewfinder itself is a little smaller than we'd like on a camera of this size, but it's nevertheless useful when you're shooting in bright conditions, or if you prefer not to use a screen.
A dedicated button on the back of the camera activates the camera's Wi-Fi system. If you have a Wi-Fi-enabled phone or tablet, you connect directly to the camera, and then launch Nikon's Wireless Mobile Utility app. If you have an NFC-enabled phone the process is even easier, as you simply tap the two devices together where you see the NFC chip icon. It's a shame the app isn't a bit more advanced though - all you can do is zoom in and out and fire the shutter release – but it's handy for group and self-portraits at least.
Amy has been writing about cameras, photography and associated tech since 2009. Amy was once part of the photography testing team for Future Publishing working across TechRadar, Digital Camera, PhotoPlus, N Photo and Photography Week. For her photography, she has won awards and has been exhibited. She often partakes in unusual projects - including one intense year where she used a different camera every single day. Amy is currently the Features Editor at Amateur Photographer magazine, and in her increasingly little spare time works across a number of high-profile publications including Wired, Stuff, Digital Camera World, Expert Reviews, and just a little off-tangent, PetsRadar.


