Travel Photography Tips: Get Creative on Holiday
Tip 26: use ND filters for long exposures
Neutral density (ND) filters are great fun to use for various effects. They come in various densities to reduce the amount of light entering the lens, resulting in longer shutter speeds for interesting photographic effects.

In popular tourist locations, try using an ND filter combined with a long exposure to blur moving people into thin air! Anything that moves during the exposure will disappear. Use an ND for coastal scenes and the long exposure will blur the water to create a misty effect.
Tip 27: shoot cities at night
Cities come alive with lights and colour at night, and distracting details such as cranes, wires and unsightly buildings melt away in the background. Every holiday destination will have something that looks great at night (read the 12 common errors of night photography - and how to fix them).

Good subjects include illuminated fountains, sculptures, churches or cathedrals, and market places. Use fountains or statues as foreground interest with the main subject in the background. Or juxtapose old architecture with new to give more depth and dimension to your images.
Tip 28: play with HDR
The HDR (High Dynamic Range) technique is perfect when you have a high-contrast scene. With your camera on a tripod, take several exposures for the shadows, midtones and highlights. Depending on the exposure range of the scene, three exposures with 2-stop increments works well and can be done by bracketing your shots.
Don't overdo it by having too much detail in the shadows, which makes for a surreal image; I prefer to make it look as though the eye would see it.
Tip 29: get great silhouettes at sunset
Shooting a brilliant sunset is something we all do on holiday. Sometimes, though, they don't quite turn out quite as we saw them. A great way to improve sunsets is to silhouette a distinctive subject, such as with the little chapel and cypress trees in our example.

Remember to compose your subject with the right balance of dark areas, especially when it comes to the foreground. The tendency is to include too much, as our eyes see much more detail. To enhance the sunset, simply switch to cloudy white balance. If your camera allows custom colour temperature, you can increase the temperature to enhance the warm tones.
Tip 31: the best subjects to shoot when it rains
Waterfalls! Not only because there's plenty of water, but the overcast conditions provide soft, even light for a low-contrast image.
Woodlands come alive with colour under overcast conditions, as direct sunshine tends to be too high-contrast/distracting.

Head indoors - interiors of cathedrals, museums or even shopping malls always have something of interest to shoot on a rainy day.
Gardens look good in overcast light and the rain will make the foliage glisten and come alive.
Close-ups of nature are great anytime, but especially in wet conditions as more creatures come out, plus the overcast light brings out every detail in the subject.
Tip 32: Make a picturesque panorama
When you come across a scenic viewpoint, instead of using a wide-angle lens so that everything appears small, try shooting several images and stitching them together in Photoshop.

This works best if you are using a tripod and allow at least a third overlap of each image so there is enough information to stitch the images together. Focal lengths of 50mm or longer are best. Use manual focus and manual mode so that all of the exposures are consistent.
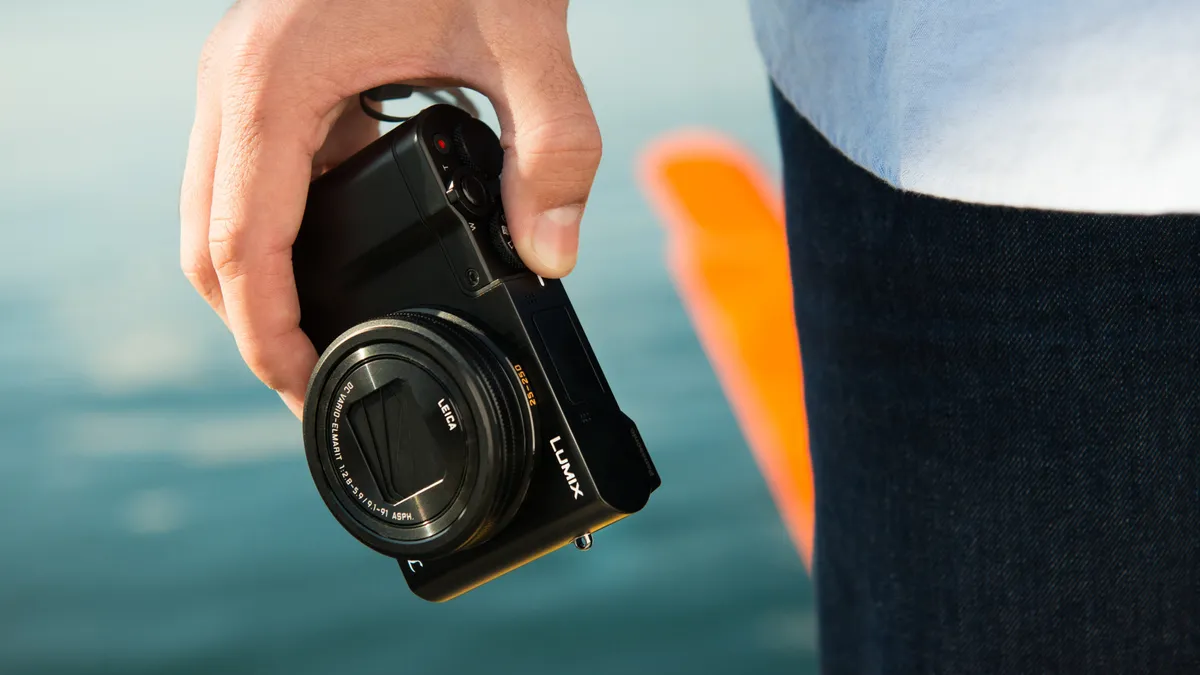
Tip 33: Always carry your digital camera
Even if you don't want to take your DSLR out, try and always carry a camera. Travel zoom compact cameras are ideal as you never know when a photo opportunity will present itself.