Why you can trust TechRadar
Getting started
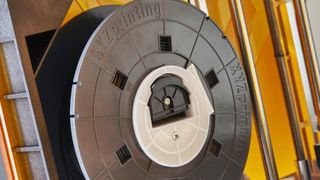
Once the machine is taken out of the box, all that's required prior to the first print is the removal of the packaging – of which there is quite a bit – and the installation of the filament reel. You also need to feed the filament through the system. This process is well illustrated and described in the printed instructions.
Once the machine is plugged in and powered up it takes about five minutes to complete the commissioning process, which involves clicking the filament reel into the holder on the side and then sticking the filament into the feed hole, attaching the filament tube into the correct slots and selecting the load filament option in the menu. It's very much a step-by-step process and far easier than many other similar systems.

The Junior features a cold print bed which limits the material that the printer can use to PLA as we've already mentioned. However, there's a good selection and PLA is fast becoming the choice material for many.
The print base requires preparation in order to make sure that the base layers of the model stick during the print process. In the box are several sheets of textured bed tape – this is stuck to the glass plate and then for extra stickiness an application of stick glue further helps the PLA to adhere to the platform during the build process.
Printing
After commissioning the machine is ready to go and it's worth printing out a test model just to check that everything is as it should be. Sample models can be downloaded from the XYZprinting website and loaded onto the SD card by means of the XYZprinting software.
The XYZ Printing software is required in order to enable printing and this can be freely downloaded from the XYZ website at the same time as the models. Once everything is installed all you need to do is select the correct printer during the software setup and then load the model into the software and onto the build area.

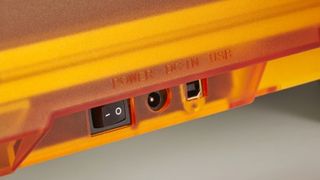
The controls for the software are incredibly easy to use with simple sliders enabling you to move the model around the build area, before you save the model to the SD card, or print direct if you've connected the USB cable between the printer and computer.
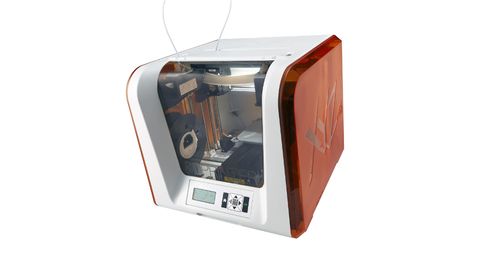
If using the SD card this can then be ejected from the computer and inserted into the printer in the slot just above the control panel, then the control pad can be used to navigate the printer menu to SD card printing. Once that's done a list of 3D models will appear on the small LCD screen ready for you to select the one you want.
After a five minute warm-up needed in order for the hot-end to get up to the right temperature, the selected test print begins. It took just under an hour to print and the resulting model showed that this is a very capable printer.
The printer's low resolution does mean that ridges from the layers are pronounced, but overlook this and the actual extrusion is precise resulting in good clean models with little signs of common issues (such as under-extrusion, stringing or warping). The factory calibration for the Junior was spot on with no adjustment or fiddling required.

