Shooting double exposures is one of those techniques that first came about in the days of film, but the sheer fun shooting them has maintained their popularity with digital photographers. So much so, in fact, that most mid to top of the range to DSLRs and mirrorless cameras have a double exposure mode that makes them incredibly easy to shoot in-camera.
One of the best things about shooting double exposures is that it literally forces you to think differently, ultimately making your approach to photography more creative. Not only do you have to learn how to anticipate which two exposures will work well together, you also need to consider how these exposures will individually need to be composed. Do you overlay compositions, compliment them or look for symmetry? The list of options goes on…
Shooting in-camera double exposures are ultimately a voyage of discovery with every shot, even when you’ve had plenty of practice because they’re a process of experimentation. So, if you want to inject a burst of fun into familiar subjects, this could be just the technique you’ve been looking for. No two images will ever be the same, and every double exposure shot you take will have a beautiful surreal quality.
Basic shooting tips

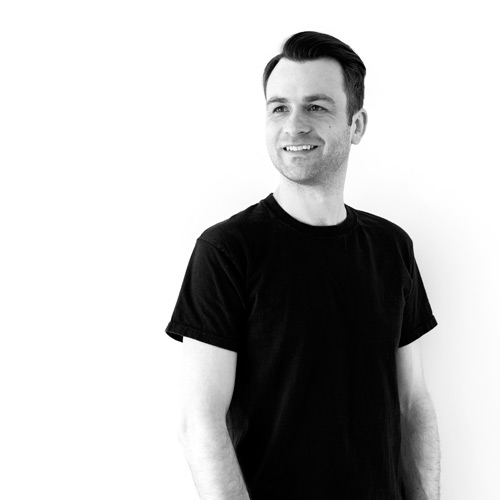
The subject you choose can really be almost anything, but tried and tested options that work are portraits, urban shots and landscapes. There are no rules and you’re really only limited by your willingness to experiment. One point that must be mentioned is that light subjects always show up well when paired up with a darker subject. If you’re shooting a portrait and position the model against a black background, when you take the second shot with a different composition or their head turned, you will be able to clearly see both exposures.
Both DSLRs and mirrorless can shoot double exposures, with mirrorless cameras having the advantage of being able to show an overlay of the first exposure when shooting the second exposure, in both the electronic viewfinder and on the LCD screen. If you’re using a DSLR with the function, it’s much easier to shoot in Live View because it removes the guesswork using the viewfinder presents.
All cameras are different, so it’s definitely worth taking a look at your camera manual to see how the function works with your camera.
All cameras are different, so it’s definitely worth taking a look at your camera manual to see how the function works with your camera. For instance, some cameras will only capture double exposures as JPEGs while others will also allow Raw. Some cameras require both exposures to be taken one after the other, while others allow you to select images to blend from within the menu. The process of turning the function on also differs from camera to camera. So, for this tutorial, we’ll simply assume that you’re taking two images; one straight after the other that the camera will immediately blend together.
How to shoot in-camera double exposures

1. Set double exposure mode
Set the camera to shoot double exposures; this could be using an external dial like on this camera, or it could be a setting within the menu. If your camera offers the option to select how many exposures you can shoot, just pick two to get started. Next set the camera to aperture priority with a medium aperture such as f/5.6 and use any exposure compensation as required. Don’t forget, you can change exposure compensation for each exposure.

2. Take your shots
Use Live View to compose and shoot your first image. Follow any on-screen instructions and then use the overlaid image of the first exposure to line up the second shot. Don’t forget to adjust exposure compensation as required to get the best result. Take the second shot, review and reshoot if necessary using slightly different compositions and/or different exposure compensation to change the way the two exposures blend together.
Editing tips
Double exposures can be produced by blending two images together in Photoshop. And while the end result can often look much more ‘polished’ than its in-camera counterpart, there’s a greater sense of authenticity with the latter. Not to mention the simple fact that shooting them in-camera is infinitely more fun.
For many of your double exposures, you may find that you only need to apply a simple Levels adjustment in Photoshop that brings in the black and white points to add contrast, and to lighten the image slightly. And for images like the one below where you have a detailed silhouette, you can use the Brush Tool set to white with the brush Blending mode set to Overlay and the brush will generally miss out the silhouette area when painting out the surrounding detail.
When shooting double exposures there are very few rights and wrongs, it most often comes down to simply knowing that an image is working. Practice will help you to identify more successful pairs of exposures, but since this is ultimately an experimental technique every time you press the shutter, you never really know what you’re going to get. So, grab your camera and head out to shoot your favourite subjects in a way that will produce fun and surreal images that make you think differently about photography.