Why you can trust TechRadar
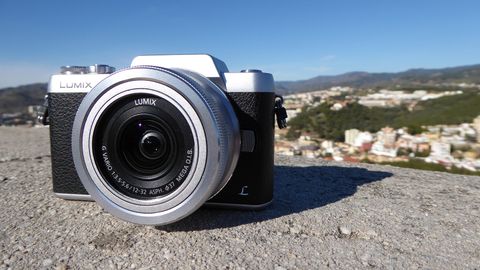
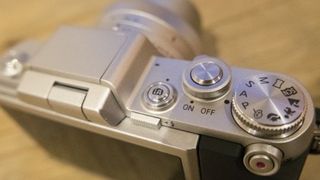
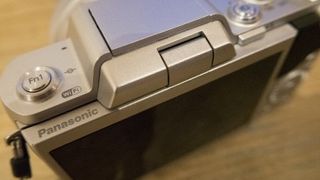
Panasonic has given the GF7 a more classic, retro look when compared with the GF6. The rounded corners have been straightened out a bit and certainly when paired with the 12-32mm lens it's much neater overall package. Despite the fact that it's smaller, the camera feels a little more solid, and there's a more substantial thumb pad on the back of the camera.
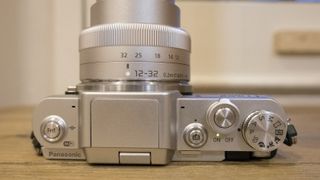
The mode dial covers semi-automatic modes (such as aperture priority and shutter priority), panoramic mode, scene modes, digital filters mode and a couple of other scene modes. In order to activate the fully automatic mode, you'll need to push a button just next to the on/off switch. You'll see a small blue light just in front of this button which indicates that automatic mode is on.
Viewing options
There's no viewfinder on the GF7, so if you prefer to compose your images with a viewfinder in a traditional way, this may not be the camera for you. On the other hand, the flippable screen makes it more useful for selfies, waist-level shots and other awkward angles.
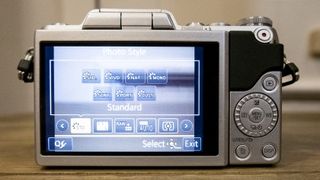
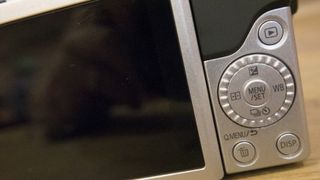
Moving to the back of the camera, you operate the flash pop-up control with your right thumb, but it's quite small and awkward. There are three buttons surrounding the GF7's navigational control (the GF6 had four) – a playback button, a display button and a button which you use to access the quick menu or delete pictures when in playback mode.
Buttons and functions
Each of the directional keys on the navigational control has a dedicated function. Up accesses exposure compensation (or allows you to switch between altering aperture and shutter speed), left gives you access to AF point, right accesses white balance, while down brings up drive mode and self-timer modes.
There is a button on the top of the camera which by default accesses the Wi-Fi settings, but this can be customised with other functions. There are are further six "virtual" spaces on the touchscreen, which can also be customised and are useful if you find yourself wanting quick access to a particular function. There are 35 different options for these buttons, including Photo Style, Picture Size, Metering Mode and more.
The Quick Menu button offers another quick way to access common settings, such as the image aspect ratio, Photo Style, and more. Different settings will be displayed depending on the shooting mode you're in. You can use the navigational buttons to move between the settings you want to change, or you can tap directly on the screen.
Focus pointers
To set the AF point, you have two options. You can tap the point on screen you wish to focus on, or you can press the left directional key and then use the physical keys to move to the point you need. The screen is very responsive, and you can change the size of the AF point using a pinch gesture – or scroll the dial on the back of the camera.
Pressing the Display button activates a digital level guide on the screen, which is very useful for helping to make sure horizons are level and is something which was missing from the GF6.
There are two ways to apply digital filters. You can turn the mode dial to the digital filter mode, or if you're shooting in semi-automatic or manual modes the screen displays a palette icon – if you tap this you can scroll through the different filter options available.
As the lens is collapsible, you'll need to extend it before you can shoot. This makes the process a little slower for the first picture you take, but you can then leave the lens extended if plan on taking more shots.
I find the camera very easy to hold and use, but some may find that the position of the mode dial puts it in the way of the shutter button.
Current page: Build Quality and Handling
Prev Page Introduction Next Page Image quality and resolutionAmy has been writing about cameras, photography and associated tech since 2009. Amy was once part of the photography testing team for Future Publishing working across TechRadar, Digital Camera, PhotoPlus, N Photo and Photography Week. For her photography, she has won awards and has been exhibited. She often partakes in unusual projects - including one intense year where she used a different camera every single day. Amy is currently the Features Editor at Amateur Photographer magazine, and in her increasingly little spare time works across a number of high-profile publications including Wired, Stuff, Digital Camera World, Expert Reviews, and just a little off-tangent, PetsRadar.
