The world is waking up and coming to terms with the horrible new truth: laptops grow old and die.
Their ageing, creaking and cracking frames, which were once so admired by the passing technointelligentsia, are now just a constant and painful reminder of their outdated and embarrassingly limited abilities.
But, just like the geriatric PC Format team, they're not utterly good-for-nothing. An ageing or semi-decrepit laptop can certainly be put to a number of goodly tasks, it's just a case of ascertaining what's still working.
We've had a seven-year-old Dell laptop rattling around the place and, while we could probably get £50 or so for it on Ebay, we could also put it to good use in many other interesting ways.
It has a working screen and innards; it can be a bit temperamental with its networking but is otherwise in pretty good nick. The plan is to remove the screen, reverse this and mount it inverted in a 17x13-inch chunky frame along with the original chassis – this will enable us to re-use it for other things later on.
This device can be assembled in any number of ways: you can use screws, hot glue, wooden batons or even cut metal sheets into suitable corner sections. It's actually possible to disassemble the laptop and mount just the motherboard within the frame, without any drives or the chassis. This will save on space and weight, and the old parts could then be sold or re-used.
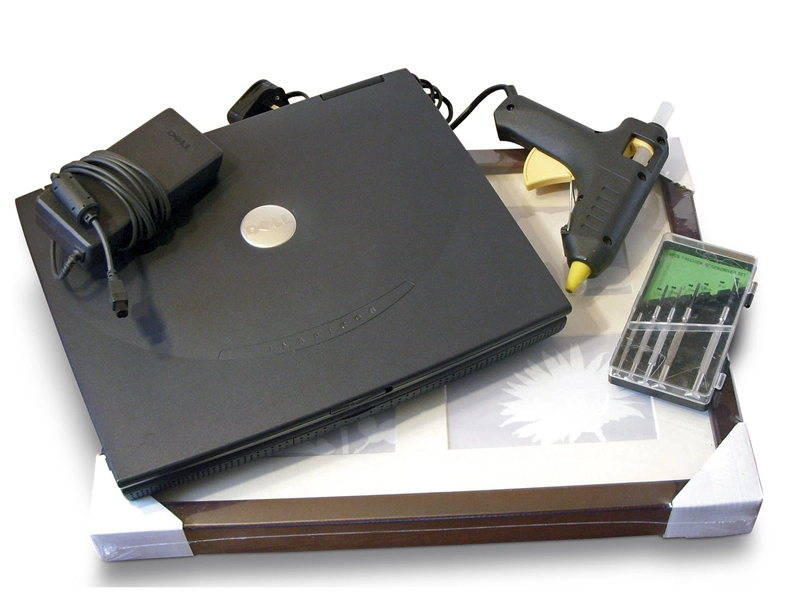
What you will need
An old laptop
Hot glue gun
'Chunky' picture frame
Wooden batons
Jewellers screwdrivers