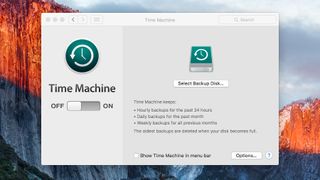
Sometimes you may have files and folders that you don't want Time Machine to backup due to space constraints on your external backup drives. Perhaps it's junk or temporary files, or perhaps you just don't care about certain files being backed up through Time Machine.
Either way, Time Machine can happily comply in this situation and allow you to exclude certain files from backups. Continue reading and we'll show you how this works, and we'll also give you an easy-to-use command that will display the excluded files.
Excluding folders

To begin excluding certain files or folders from backup, follow these steps:
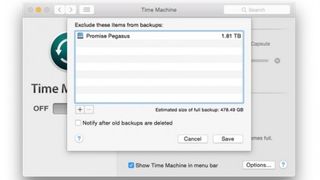
- Open System Preferences > Time Machine > Options.
- Excluded Items will be displayed in the list.
- Select the + (add) button to begin adding a new excluded directory.
- Once the location has been selected, Click "Exclude." The directory will be added to the excluded list.
- Click Save to accept the new changes.
Once you've done this, Time Machine will no longer back up these excluded directories when a Time Machine backup is scheduled.
Viewing excluded folders

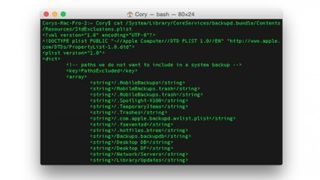
OS X also automatically adds certain files and folders to the excluded list alongside your excluded items. If you wish to view the entire Time Machine exclusions listing, then you can open the Terminal (located in /Applications/Utilities), and use the following command (all on one line):
cat /System/Library/CoreServices/backupd.bundle/Contents/Resources/StdExclusions.plist
This will display the plist file containing the OS X and User excluded directories when performing Time Machine backups. Don't edit this list by hand unless you know what you are doing and how plist files are structured. Damaging this file may effect Time Machine backups.
Are you a pro? Subscribe to our newsletter
Sign up to the TechRadar Pro newsletter to get all the top news, opinion, features and guidance your business needs to succeed!
