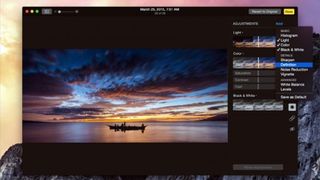
Despite its focus on the everyday customer with Photos for Mac, Apple packed in a number of advanced photo-editing tools that are easy to access if you want them, yet effortlessly avoidable if they just aren't for you. They surely aren't an end-all replacement for serious Aperture users or professionals, but they may be just what you need when it's time to move beyond a crop and a filter.
In true Apple fashion, diving into the advanced editing tools feels deceptively simple. These tools live alongside the others we just tinkered with, at times adding an advanced feature to a core tool (like fine-grained rotate/leveling in Crop), and sometimes being collected in their own section like Adjust.
As you might expect, these tools can all stack or combine their effects as you work (and yes, everything is still non-destructive if you have to start over, whether you decide right now or a year down the road). For example, if a photo's colors are all over the map, you can first crop it, then use a White Balance adjustment on the cropped area to better center its palette, then use a filter to add style, again on just the cropped portion.
Let's roll up our sleeves and dig a little deeper.
Step-by-step: Advanced editing
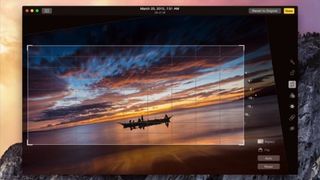
1. Rotate to a Degree: You may have noticed that a degree meter appeared with the Crop tool, just to the right of your photo. Click and drag this to level your photo with fine control; this is great if you were off-balance when shooting or if you want to add some tension to a shot.
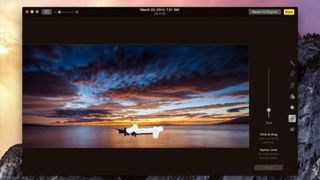
2. Retouch: Arguably one of the most "magical" tools, Retouch is a surprisingly accurate way to make many unwanted elements disappear. This is great for restoring aged, cracked family photos to glory or even, in this example, removing the boat and its passengers from view.
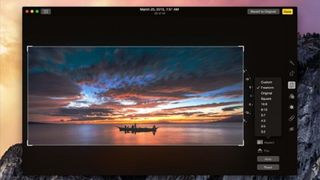
3. Crop to a Standard: If you are often cropping photos for a specific use or format — say, 5 x 7 inches for print or 16:9 for featured blog post images — look to the bottom of the Crop tool. Click the Aspect button for a bunch of size presets, or define your own dimensions.
Are you a pro? Subscribe to our newsletter
Sign up to the TechRadar Pro newsletter to get all the top news, opinion, features and guidance your business needs to succeed!
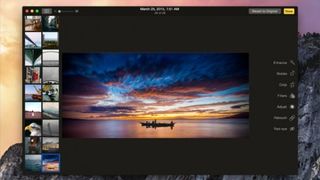
4. Split View: If you're on an editing roll, use View > Show Split View to show a left sidebar of all photos in the currently selected album. This gives you a bird's-eye view of the other photos you can edit, and it's just one click to switch while staying in edit mode.
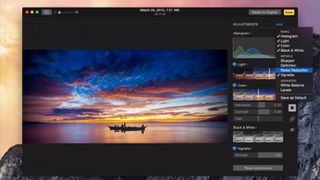
5. Adjust: This is where you can take complete, manual control over enhancing your photos. Sliders offer fine-grained control over everything from color saturation to highlights and shallows, complete with clever thumbnail previews before you start sliding.
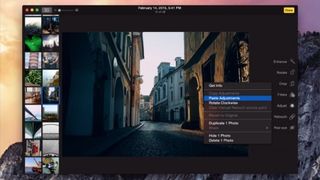
6. Paste Adjustments: When editing a similar group of photos and you get adjustments on one just the way you like, you can copy and paste it to all the others. Simply use Image > Copy Adjustments on the current photo, then Image > Paste Adjustments on the rest.

7. Adjust Your Adjustments: You can add a broad array of tools to the default set. Click the Add button at the top of the Adjustments column — everything from a histogram, to noise reduction (for grainy photos), and even a Photoshop-ish levels panel can give you great control over your photos.
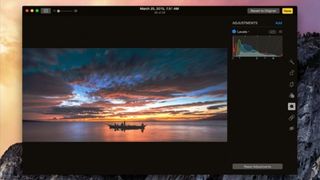
8. Levels: Long hailed as one of the most useful photo-editing tools, a Levels tool is like going under the hood of the Light and Color adjustments. Levels allows you to adjust color and tone by hand, and to fix "flat" images by setting new black and white points.
