
 Become a TechRadar Insider


Most of us use more than one PC these days, and if you count up the different machines you use on a weekly basis, they can easily reach double figures. You might have two or three machines in the house, and then a work PC as well. If you add that to the PCs owned by friends, family and colleagues, and machines found in libraries and internet cafes, you can start to see a trend emerging.
The upshot of this trend for PC polygamy is a disconnection between the computers we use and the files we need. Anecdotally, many people will find themselves in a situation where a file they were working on is stuck on their home PC while they are at work, or vice versa.
Not having your files when you need them can be incredibly frustrating, but online storage and syncing can cut the worry and keep your files at your fingertips. We've covered online storage services before, but Microsoft's Windows Live Mesh2011 has been revamped to offer something different.
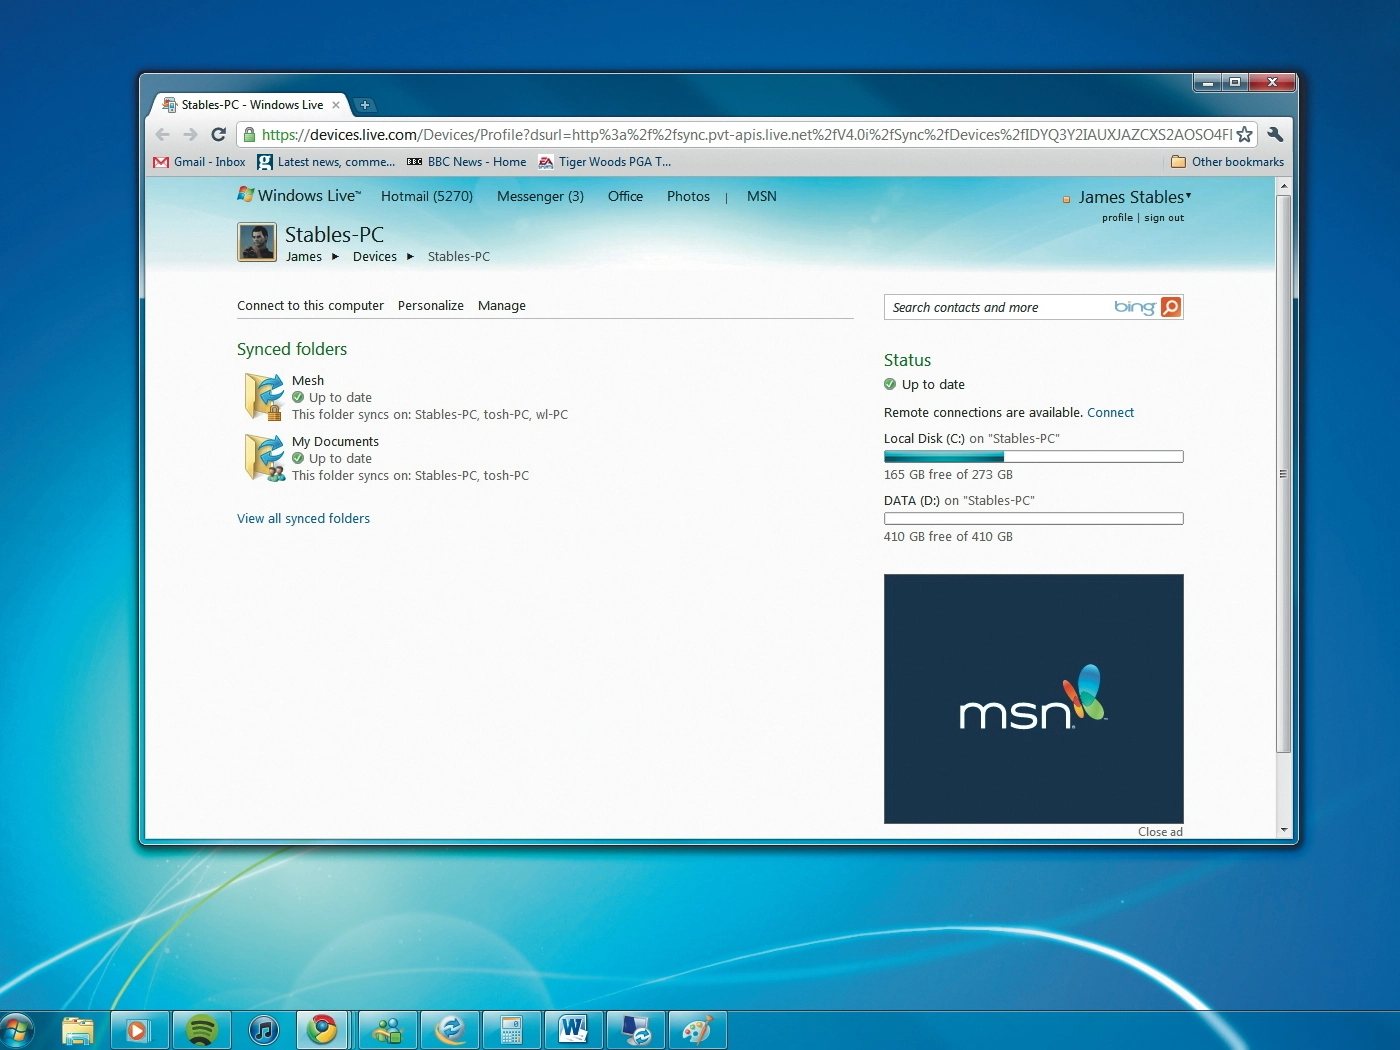
Unlike most online storage services, Windows Live Mesh 2011 is designed to sync files between your PCs, taking the effort out of storage.
Like a lot of other companies, Microsoft has its own online storage service, called Windows Live SkyDrive, but Live Mesh is different. Its job is to fill the gap between your locally-stored PC content and the other PCs you use by creating automatically syncing folders.
Getting started

To get started with Windows Live Mesh you need to download the Windows Live Essentials client onto your PC.
The installer will ask you which of the family of programs you want to install, but you only need Windows Live Mesh to start syncing your data. You'll also need a Windows Live ID. This is the key to bringing in cloud services such as SkyDrive, which are used behind the scenes.
Once Windows Live Mesh is installed and you've signed in with a Windows Live ID, you can start syncing your files. In the main window choose 'Sync a folder' beneath the name of your PC.
A dialog box will open and you can choose any existing folder or library from your PC. If you'd rather not have everything from these folders sprayed onto the internet, you can create a Live Mesh folder locally on your PC. Anything added to this folder will be automatically synced to the web.
Windows Live SkyDrive, the service Live Mesh uses to store your files, has a 5GB limit, so if you have extensive libraries, you may want to be selective.
Upload your files

When you've designated a folder, Windows Live Mesh will sync it and all of your files will be uploaded to the cloud. Once this process has finished, the newly synced folder will have a green tick placed next to it to show that everything is now up to date.
Once a folder is synced in Windows Live Mesh, you can start to do more with it. In the main Live Mesh console, click on one of your synced folders to adjust who can see and share it.
This lets you give other web users access certain folders, even if they don't use Windows Live Mesh. The ability to set public folders has long been a feature of SkyDrive, and guests are able to access this area of your online storage space provided they also use a Windows Live ID.

After your first PC is synced with Windows Live Mesh, you can start adding other PCs. The best way is to install the client on other PCs you use, and sign in with your Windows Live ID. When you log in on another PC, you will see all of the folders that have been synced with your account at the top of your screen.