Overclocking step-by-step
1. Use quality components
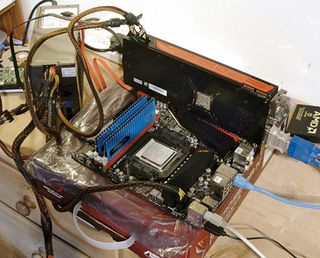
A decent motherboard and RAM are the foundations of easy overclocking. Without access to the right settings, there's little chance of getting a decent overclock going. Without access to the right kit, you won't get the settings. Ironically, you might need to upgrade before proceeding.
2. Keep everything cool
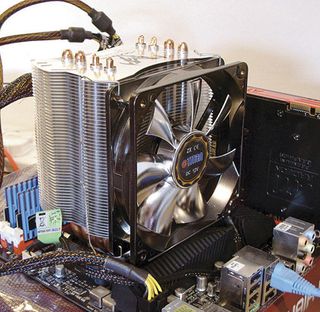
A heavy-duty cooler offers quieter running than stock coolers. One with a sturdy heatpiped copper base and 120mm fan is going to provide more efficient cooling than the standard block type. You can overclock on the stock cooler, of course, but we probably wouldn't.
3. Apply thermal paste
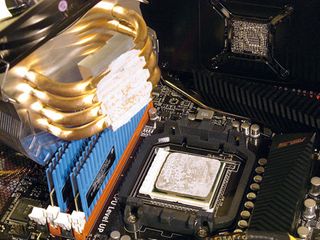
Remember, a good application of thermal paste is essential to help your cooling efforts. We've found that we get the best results by applying an tiny amount initially, spreading this around with the heatsink itself, then removing and cleaning the majority from just the cooler.
4. Consider water-cooling
Get daily insight, inspiration and deals in your inbox
Get the hottest deals available in your inbox plus news, reviews, opinion, analysis and more from the TechRadar team.
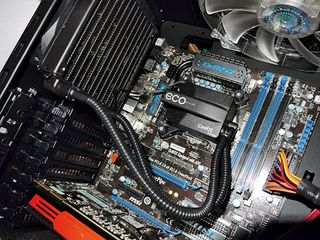
You could, if you're looking to take your processor a long way, treat yourself to water-cooling like CoolIT's ECO ALC. These modern self-contained units are easy to use, run quieter than a lot of fans, and are covered by some all-encompassing warranties for peace of mind.
5. Grab some benchmarks

Seeing the difference is pretty important; you'll want to get hold of something you can run before and after overclocking. Many people use games like Far Cry 2 and Crysis, which include built-in benchmarks, or you could try Cinebench x264, a dedicated benchmark tool.
6. Get official tools
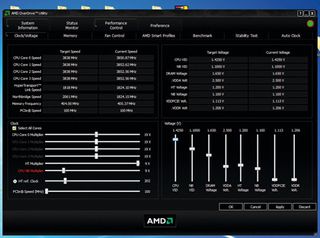
Intel's Desktop Control Center and AMD Overdrive are essential if you want to gain access to all your processor's features, although these will only really work with super high-end chips. You'll be stuck with the BIOS otherwise.
The dirty work: Ready to take your processor up a notch? It's easy…
1. Master the BIOS
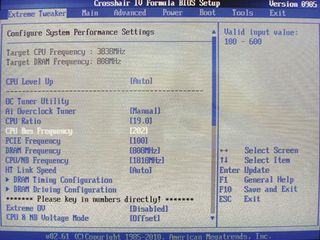
The preferred way to overclock your processor is to use the BIOS. The best overclocking boards provide a dedicated section to adjust the settings for the memory, processor and system bus, along with automatic settings, preset options and recovery.
2. Bench then run
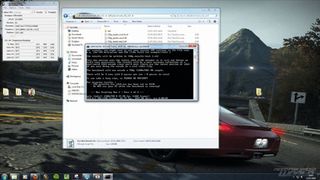
Run your benchmarks to get the base numbers for your PC. Once done, reboot and hit [Delete] to enter the BIOS. The MSI P55-GD6 lists its main tweaking options in the Cell menu - 'Adjust CPU base frequency', 'Adjust CPU ratio' and 'CPU voltage' are the main ones.
3. Multiplier boost
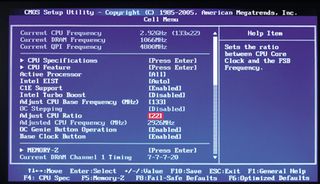
The Core i7 870 CPU Ratio can be raised from 22 to 24, so that's an easy place to start. Save the changes and exit the BIOS, and then see if you can boot into Windows at the higher clockspeeds. If that appears to be working fine, reboot and go back into the BIOS.
4. Base clock kick
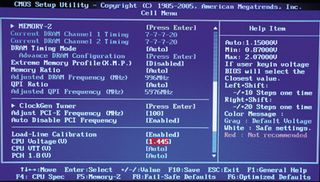
Raise the CPU Base Frequency by 10MHz, save the changes and boot Windows to check for stability. If all is fine, return to the BIOS to repeat the process until you can no longer boot. Try increasing the CPU Voltage by 0.1V and test to see if this improves things.
5. Voltage tweak
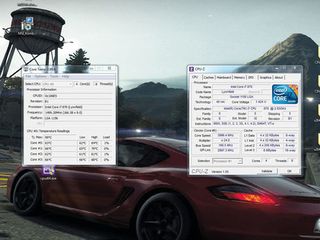
If you're still facing problems, either increase the voltage a bit more, or try dropping the multiplier and increasing the base clock to go faster. You may need several attempts to balance the three settings. Intel chips are fairly robust, but watch your voltage.
6. Go third party
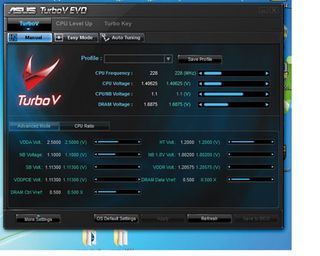
Most motherboard manufacturers provide their own overclocking utilities. The ASUS effort offers up a decent automatic mode, although it does err on the side of caution a little too much. In this instance it stopped at 1.4v, with a maximum CPU speed of 3.4GHz.
